Fatal Baboons How to Survive Every Monster
Lab and Backrooms counters after the New Lab revamp-practical, not lore fluff.
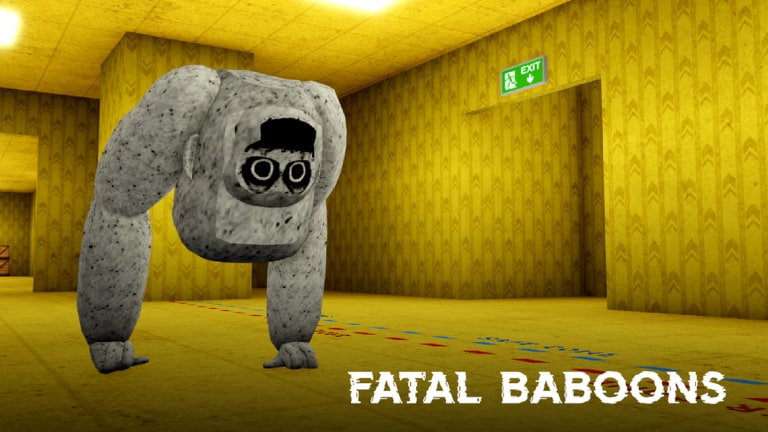
This guide teaches how to beat or avoid each Fatal Baboons monster after the November 2026 New Lab revamp. Pair it with the Monster Danger Tier List for priority order and Monster Stats for raw numbers. Fatal Baboons by VertexLabs is a Roblox survival-escape horror loop: scrap in Danger Zones, sell beside Abby’s Shop, and respect Safe Zone borders monsters cannot cross.
General rules before per-entity notes: always keep an escape path to Safe Zone paint; never fight the camera and the inventory UI at once; if fightback is available, press F on grab and finish the QTE; greed with 6/6 scrap is how highlight reels get footage.
Lab monsters
John - silence or die
John is blind and tracks sound out to about 145 studs. When your screen tips pink, he is sprinting on your noise profile. Counter: freeze, or creep in short taps between full stops. Sprint stacks with friends are free meals. Drop scrap ambition the moment pink appears-living matters more than one more part.
Brute - deny the ramp
Brute starts near 35 and climbs to 42 across roughly five seconds of uninterrupted chase. Turning is sluggish (~70%), and attacks sit low enough to jump. Counter: break line of sight before the ramp finishes; juke early corners; jump the swing if cornered. Do not try to outrun a fully spun-up Brute down a straight hall.
Bertha - instant pressure
Bertha hits 38 immediately. Turning ~60%. Jump and tight corners are your friends. Fightback applies-if she grabs, F is live. Counter: treat first sighting as already-in-chase; do not wait to “see what she does.”
Meater - Lab S-tier speed
Meater is the fastest Lab threat at 40 with sharp cornering (~35% turning difficulty). Counter: spot first, cut LOS instantly, refuse long sightlines. If Meater owns the hallway, rotate wings instead of ego-dueling.
Spitter - the setup artist
Spitter lobs goo about every 5 seconds, applying roughly -20% movement for 4.5 seconds. The spit rarely kills alone; the slow into Brute/Meater/Bertha does. Counter: strafe predictably, take cover on cooldown windows, retreat to Safe Zone if slowed with hunters nearby.
Dimmer - darkness tax
Dimmer drains lights when close. Your silhouette reads and scrap glow matter more than a pure footrace. Counter: memorize recycler approaches and border paint; avoid unfamiliar side rooms when bulbs die; stick with a partner who still has flashlight-equivalent awareness.
Backrooms monsters
Null - stare discipline
Null runs at a brutal 54 with essentially no turn penalty while rushing. He freezes while watched and explodes forward when cameras leave him. Counter: keep him on-screen; assign a watcher in squads; if grabbed, fightback works and a win grants ~30s immunity - sprint to safety, because a second catch can kill. Noise toys do not solve Null; eyes do. Deep dive: Backrooms and Fightback.
Meat - height is not safety
Meat is a tall grabber around 35 speed. Climbing will not save you. Counter: horizontal jukes and fightback when grabbed; stop treating shelves like safe houses from other horror games.
Mimic - social deduction horror
Mimic looks like a player. Once revealed, chase pressure lasts on the order of 40 seconds at ~37 speed with extreme heading lock. Counter: check faces before sharing routes; ask friend-only questions; never lead an unverified “teammate - to your scrap stash or elevator. See Players for lobby habits Mimic exploits.
Cross-cutting tactics
Sound budget: Assume John can hear you even when another monster has your eyes. Whisper movement between loud moments.
Slow budget: A Spitter tag means your effective tier list just shifted up one rank for everyone else nearby. Sell or hide.
Vision budget: Dimmer plus Null is a nightmare pairing across zones-do not stack ignorance of both.
Carry budget: At **4 - * scrap, take fewer fights with S-tier threats. Crown at 50 coins is not worth a full wipe-Scrap Farming.
Border budget: If a chase starts near paint, dedicate the sprint to Safe Zone, not to one more pickup.
Beginner priority order
- Learn John silence and Safe Zone returns (Getting Started).
- Practice jump-overs on Brute/Bertha.
- Respect Meater sightlines.
- Enter Backrooms only after Lab loops feel calm.
- Drill Null stare and Mimic face checks.
- Re-read tier ranks after each death to label what actually killed you.
Squad callouts that help
- “Pink-= John sprint-freeze.
- “Ramp-= Brute spinning up-break LOS.
- “Goo-= Spitter slow active.
- “Eyes-= Null on someone-keep watch.
- “Face-= verify teammate vs Mimic.
- “Selling-= disengage and recycler.
What this guide is not
It is not a jumpscare compilation, not a script advertisement (Scripts are separate and risky), and not a fake codes list. When Lockdown retunes kits, update your mental model from Updates first, then return here.
Master one counter per session. The players who survive Fatal Baboons are not fearless-they are specific.
Frequently Asked Questions
Quick answers to the most common questions.
Which Fatal Baboons monster is the most dangerous?
For most squads, Null, Meater, and Mimic sit at the top of the threat tier list because of rush rules, raw Lab speed, and identity tricks.
How do I survive John?
Stay quiet. John is blind and tracks sound to about 145 studs. If your screen goes pink, freeze or move only in tiny taps.
Can I fight back against every monster?
No. Fightback with F works on eligible grabbers such as Null, Bertha, and Meat. Others require pure evasion-see the Fightback guide.
Does climbing save me from Meat?
No. Meat's tall grab reaches players who try to perch. Use horizontal escapes and fightback instead.
Where are the exact speed numbers?
Open the Monster Stats tool and the detailed Monsters tier page for speeds, turning, and mechanic tags in one place.